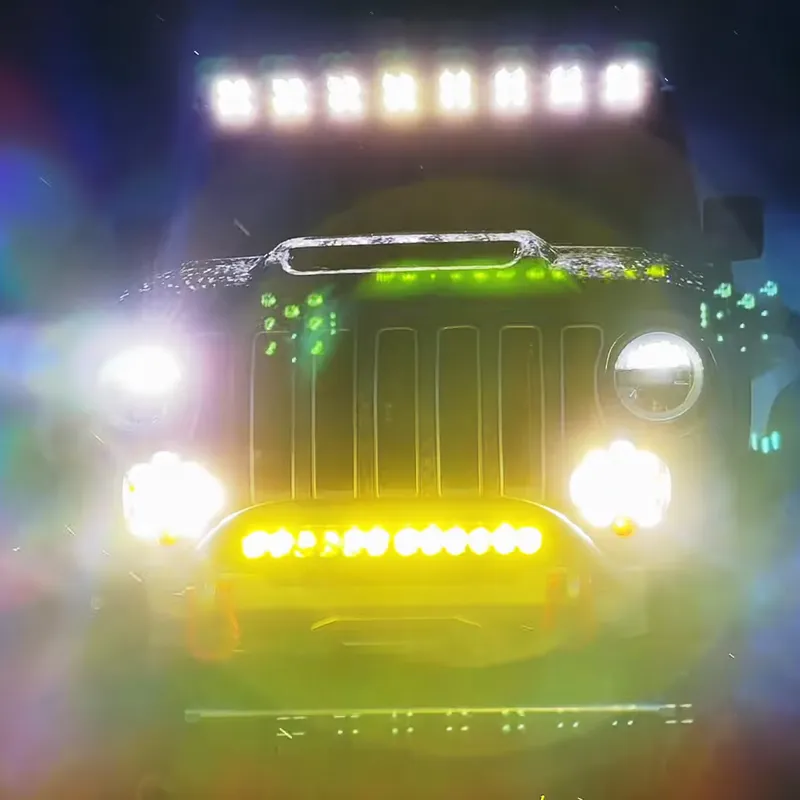
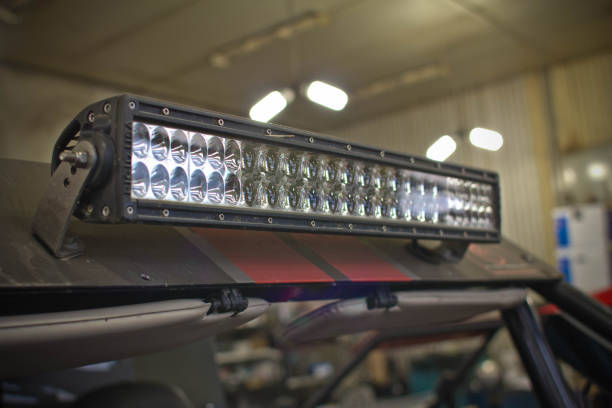
Proper lighting is essential when it comes to safe driving, especially at night or during off-road adventures. Over time, your driving lights and light bars can accumulate dust, mud, water stains, and even bugs, which can drastically reduce visibility and performance. In addition, factors like UV rays and environmental wear can cause yellowing and cloudiness in the lens covers.
To avoid such issues, knowing how to clean your light bar lens and how to maintain automotive light bars correctly is crucial. Whether you’re a weekend off-roader or a long-distance trucker, regular maintenance of your vehicle’s lighting can go a long way in preserving its functionality and appearance.
This article will walk you through a comprehensive cleaning and maintenance guide for your driving lights, light bars, and Linkable LED Light Bars, covering both external and internal cleaning, why yellowing occurs, and how to handle off-road light maintenance. Read on to learn how to keep your lighting gear in top-notch condition.
Why Proper Cleaning and Maintenance Matter
Dirty or fogged-up lenses don’t just look bad—they reduce the amount of light your vehicle emits. When visibility drops, especially during nighttime or in poor weather conditions, it compromises safety for both you and other drivers. Cleaning is also essential to prevent damage from long-term exposure to dust, mud, salt, and UV rays.
Besides safety, a clean light bar contributes to the overall aesthetic of your vehicle. Whether you’re showing off your 4×4 build or attending a car meet, clean and gleaming lights leave a strong impression. Moreover, cleaning allows you to inspect the condition of the light housings, wires, and seals, potentially identifying issues like water ingress before they become costly problems.
Tools and Supplies You’ll Need
Before you begin, you should gather the appropriate cleaning tools and products. Having the right gear ensures a safe and efficient process that won’t damage your lights.
Here’s what you’ll need:
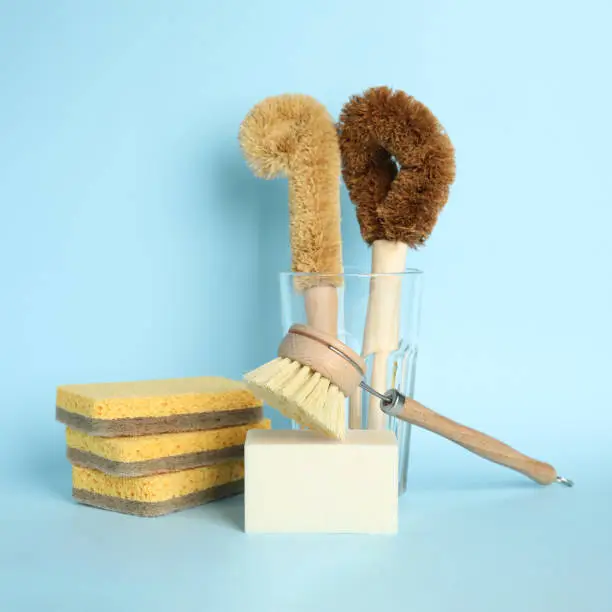
- Mild automotive soap or dishwashing liquid
- A bucket of warm water
- Microfiber cloths
- Soft-bristled brush or toothbrush
- Compressed air (optional)
- UV plastic lens polish and protectant
- Plastic restorer or headlight restoration kit (for yellowed lenses)
- Screwdriver or trim removal tools (for internal cleaning)
- Silicone sealant or grease (for resealing light housings)
Avoid using abrasive sponges, ammonia-based cleaners, or rough paper towels as they can scratch the lens and diminish light output.
How to Clean a Light Bar Lens (External Cleaning Process)
When people ask, “How to clean a light bar lens?” they are usually referring to removing dirt, grime, and oxidation from the surface. Here’s a detailed process to get your lenses crystal clear again.
Step 1: Rinse Off Loose Dirt
Start by rinsing the light bar using water to remove any loose dirt or debris. This prevents scratching the lens when you start wiping it down. If the lights are especially dirty, consider soaking them with a wet cloth for a few minutes to loosen the grime.
Step 2: Apply a Soapy Solution
Mix mild automotive soap in a bucket of warm water. Dip a microfiber cloth into the solution and gently wipe down the surface of the lens. For harder-to-reach crevices, use a soft-bristled toothbrush. Ensure you scrub all the way around the edges where dirt and bugs often accumulate.
Step 3: Scrub Stubborn Buildup
If there are bug splatters or caked-on mud, scrub gently using the soft brush. Avoid using harsh chemicals as they can damage the polycarbonate or acrylic lens cover.
Step 4: Rinse and Dry Thoroughly
After cleaning, rinse the light bar thoroughly with clean water to remove soap residue. Dry it using a clean microfiber towel. Be sure to remove all moisture to avoid water spots.
Step 5: Polish the Lens
Use a plastic-safe polish to restore any dullness or minor scratches on the lens. Apply with a soft cloth using circular motions. This not only improves appearance but enhances light output by removing haze.
Step 6: Apply UV Protectant
Finish by applying a UV protectant to shield the lens from sun damage. This is particularly important for vehicles often used in sunny or off-road conditions.
Why is the Lens on My Light Bar Yellow?
Many vehicle owners notice that their light bar lenses start to develop a yellowish hue over time. So, why is the lens on my light bar yellow?
UV Damage Over Time
The most common reason is UV degradation. Prolonged exposure to the sun causes the plastic lenses to oxidize, resulting in a yellow or foggy appearance. This is particularly common in cheaper lenses that lack UV stabilizers.
Environmental Exposure
Dust, salt, road grime, and chemical exposure from rain or snow can gradually wear down the protective coating on the lens, making it more vulnerable to oxidation and yellowing.
Heat from the Bulb
Especially with high-powered automotive light bars, excessive internal heat can also contribute to yellowing or warping of the lens over time.
Cleaning with Harsh Chemicals
Using household cleaners like ammonia or alcohol can strip protective coatings and speed up the yellowing process. Stick with plastic-safe products designed for automotive use.
How to Restore a Yellowed Linkable Light Bar Lens
If your light bar has already turned yellow, don’t panic. Here are steps you can take to restore clarity:
Step 1: Clean the Lens Thoroughly
As with regular cleaning, start by washing the lens to remove all external debris and dirt.
Step 2: Sanding (Optional for Severe Yellowing)
Use ultra-fine sandpaper (1000 to 3000 grit) and wet-sand the lens gently in a circular motion. This removes the oxidized surface layer.
Step 3: Apply Headlight Restoration Polish
Use a headlight restoration kit or plastic polish and buff the lens with a microfiber cloth until it becomes clear.
Step 4: Seal with UV Protectant
Always finish with a high-quality UV sealant to protect against future damage. Some Linkable LED Light Bar models come with UV-stabilized lenses, but it’s still good practice to add extra protection.
How to Clean the Inside of Car Lights
Now let’s address the more difficult question: how to clean the inside of car lights. Internal fogging or dust accumulation inside the housing can reduce visibility and make the lights look unattractive.
Step 1: Remove the Light Assembly
Carefully remove the light bar or headlight assembly using appropriate tools. Be sure to check your vehicle’s service manual for instructions.
Step 2: Open the Housing (If Applicable)
If the unit is serviceable, carefully separate the lens cover from the backing. Some units are sealed and should not be tampered with unless you are experienced.
Step 3: Clean the Inside
Use a lint-free cloth or a magnetic cleaning tool to gently wipe the inside surfaces. You may also use compressed air to blow out dust particles.
Step 4: Dry the Interior
Ensure the inside of the light is completely dry before reassembling. Any leftover moisture can cause fogging.
Step 5: Reseal Properly
Apply silicone grease or sealant along the edges before sealing the unit back together to prevent water from leaking in.
Cleaning inside of car lights should be done carefully to avoid damage or voiding your warranty.
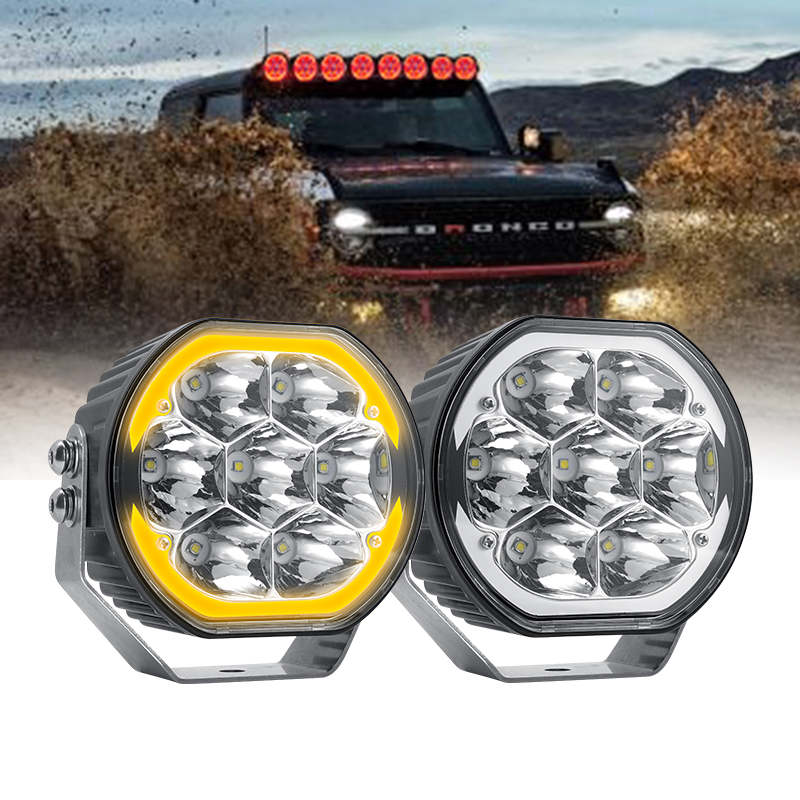
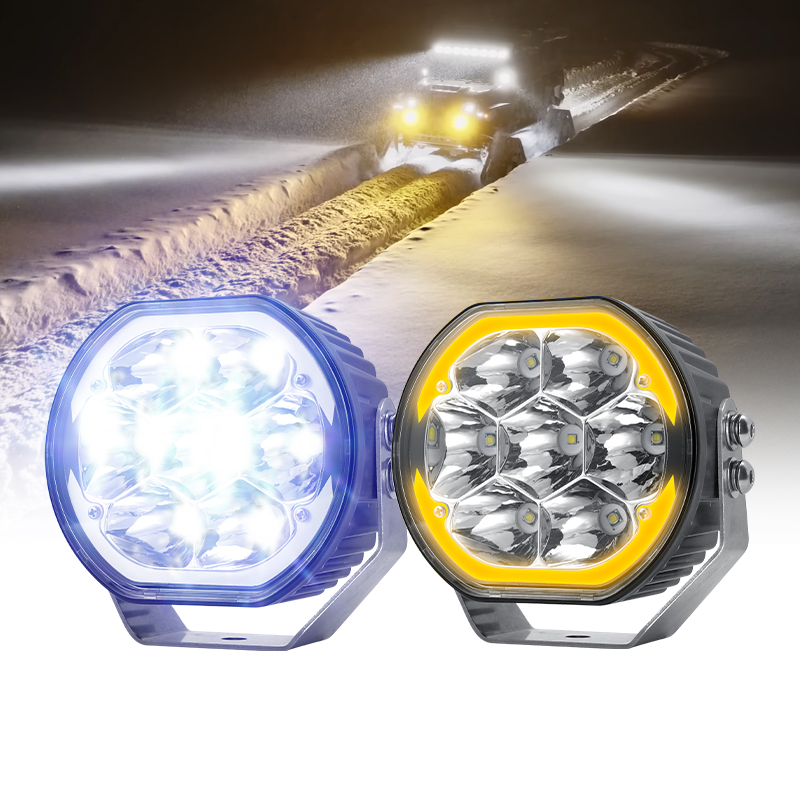
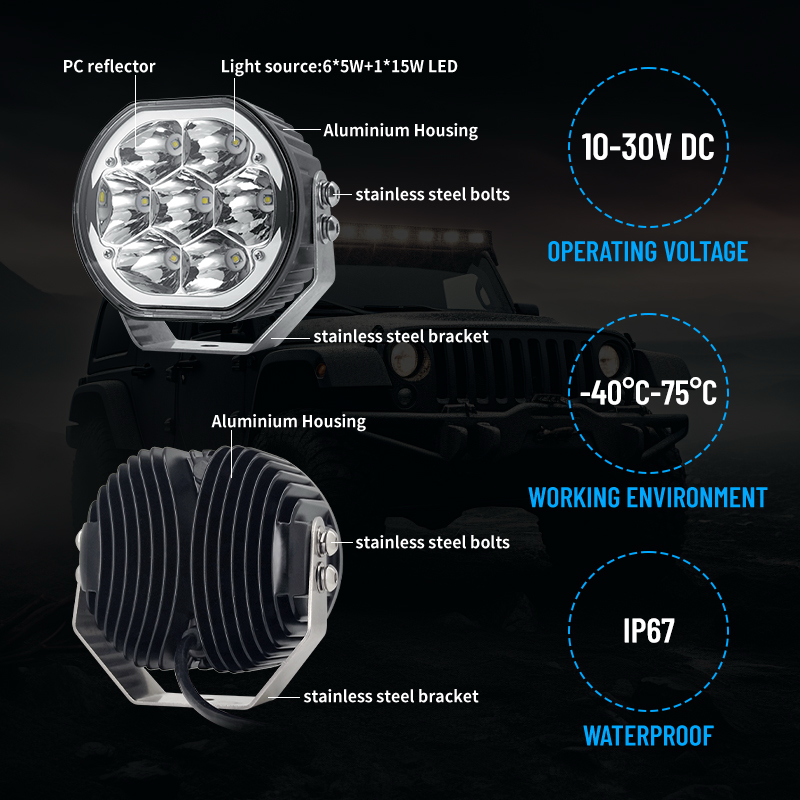
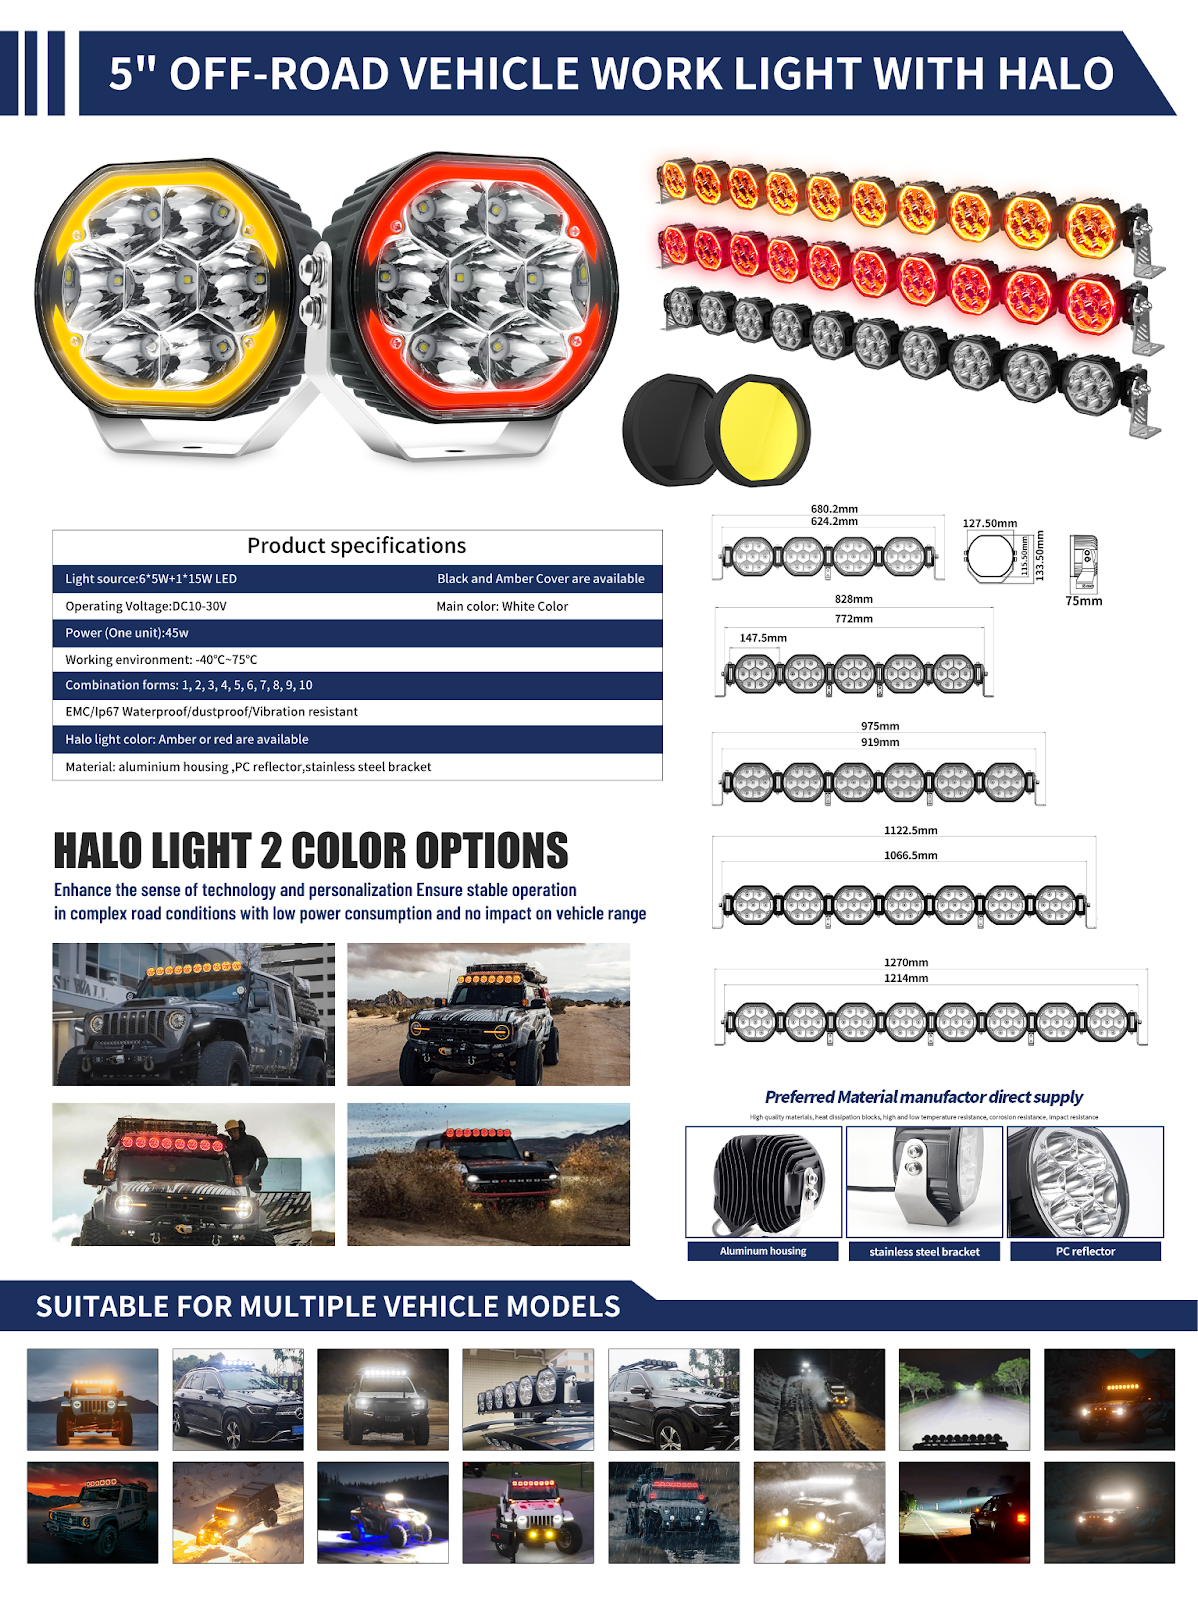
About XRLL Best Linkable Light Bar—-1335K
High-Performance LED Lighting
- Equipped with 6×5W + 1×15W LED chips, delivering powerful 45W illumination for superior brightness and visibility.
- Operates efficiently within a DC10-30V voltage range, ensuring compatibility with various vehicles and applications.
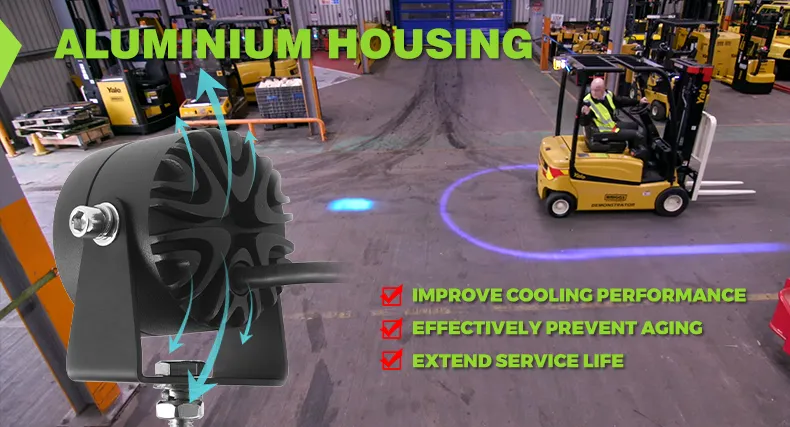
Durable & Weather-Resistant Build
- Features a robust aluminum housing and PC reflector, providing excellent heat dissipation and impact resistance.
- Comes with a stainless steel bracket, ensuring stable and secure mounting on different surfaces.
- Rated IP67 is waterproof, dustproof, and vibration-resistant, making it suitable for extreme environments and rough terrains.
Versatile Design & Customization Options
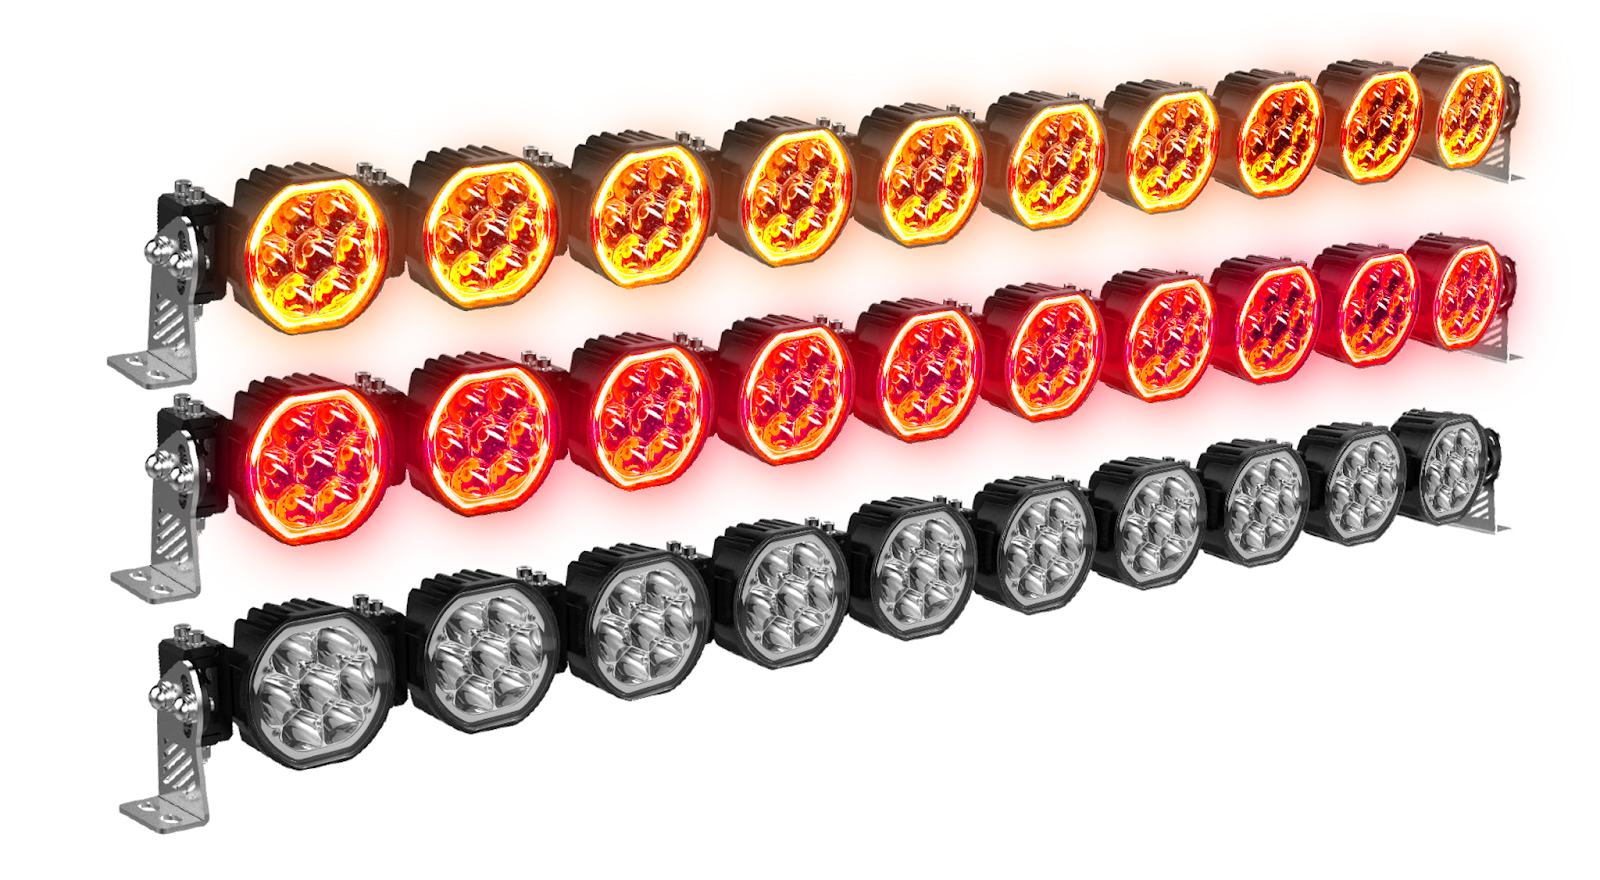
- Available in black and amber covers, users can adapt the light bar to different aesthetics and visibility needs.
- Offers halo light options in amber or red, enhancing visibility and providing a stylish appearance.
- It supports multiple combination forms (1 to 10 units), making it adaptable for various vehicle sizes and lighting requirements.
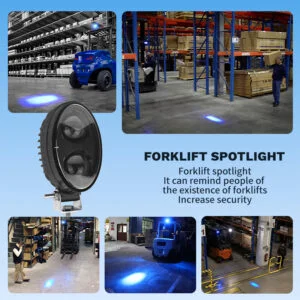
Ideal for Various Applications
- Perfect for off-road vehicles, trucks, ATVs, UTVs, and work trucks that require high-intensity lighting.
- Enhances safety in foggy, rainy, or dusty conditions, making it a reliable choice for professional and personal use.
With its powerful illumination, rugged durability, and customizable features, the XRL Self-Developed Light Bar is the ultimate choice for drivers seeking high-performance LED lighting solutions.
Beyond light bars, we also offer a selection of intelligent LED work lights and auxiliary lighting options, designed to enhance visibility and safety in various applications. Our commitment to rigorous quality control and a spirit of excellence ensures that every product meets the highest industry standards.
Conclusion
Learning how to clean a light bar lens and maintain your automotive light bars is a valuable skill for any vehicle owner. It not only helps extend the life of your lighting equipment but also ensures maximum brightness and safety. Whether you’re dealing with yellowed lenses or internal fogging, the steps above offer comprehensive solutions for keeping your gear in optimal shape.
Don’t wait until your lights are dim or yellowed to take action. With a little effort and the right tools, you can keep your vehicle’s lighting looking and performing like new. And remember, regular maintenance isn’t just for aesthetics—it’s a crucial part of road safety.