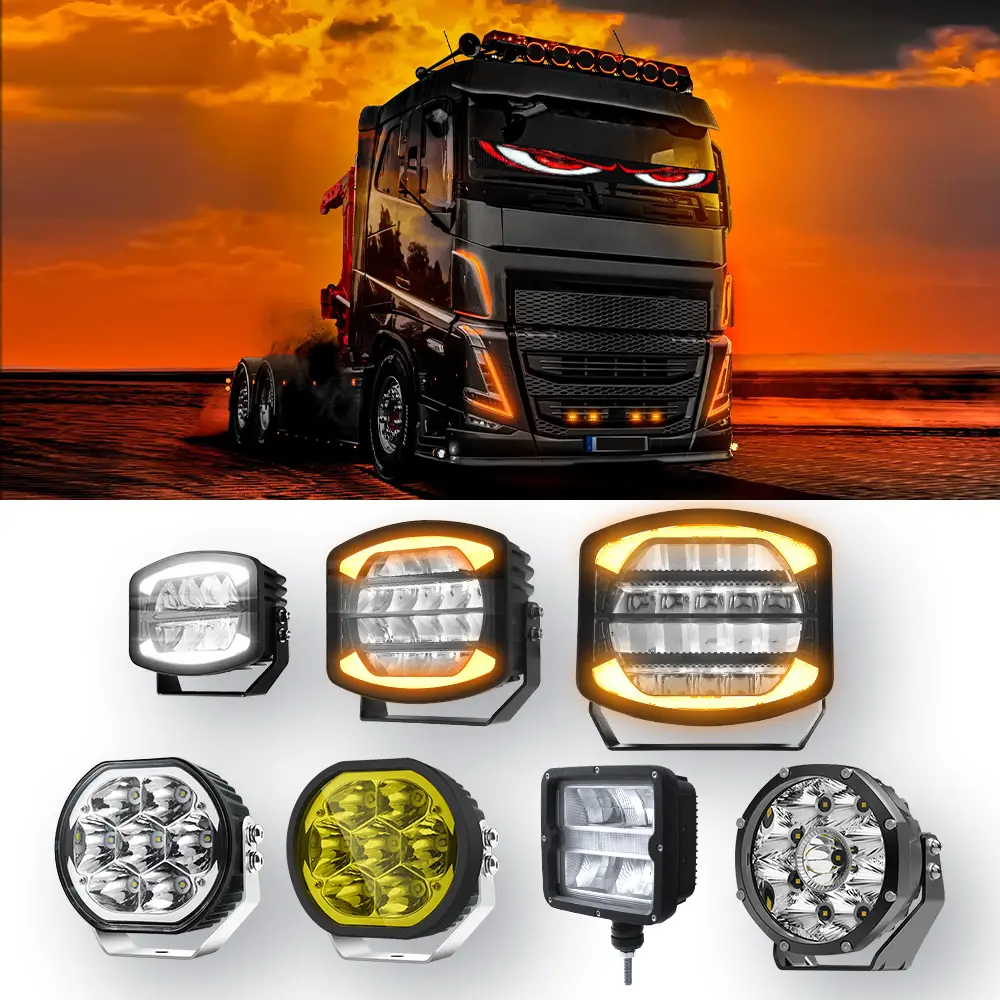
Upgrading your truck’s lighting is not just about style—it’s about safety, visibility, and functionality. Whether you’re installing a light bar for truck or upgrading to LED headlights, doing it right ensures your truck is ready for any adventure, day or night. This guide will take you step by step through the LED light install process, making it easy even if you’re a first-time DIYer.
Tools and Materials You’ll Need
Proper preparation makes installation smooth and stress-free. Here’s everything you need before starting your LED lights in truck project:
Essential Tools
- Screwdrivers and Socket Wrenches: Both Phillips and flathead screwdrivers are needed, along with a socket set to handle bolts and fasteners.
- Wire Crimper and Connectors: Ensures clean, secure electrical connections.
Electrical Components
- Wiring Harness with Fuse and Relay: Protects your truck’s electrical system during a LED light install.
- Switch (Toggle or Rocker): Lets you control your lights safely from inside the cabin.
- Electrical Tape and Zip Ties: Keep wiring organized and secure, preventing wear and tear.
How to Hook Up a Light Bar to a Truck
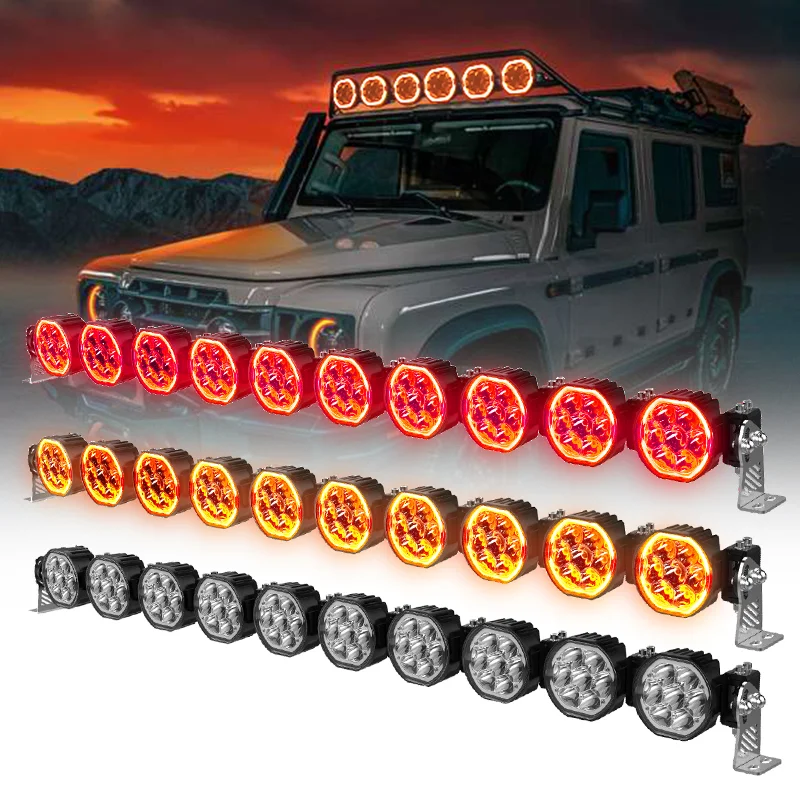
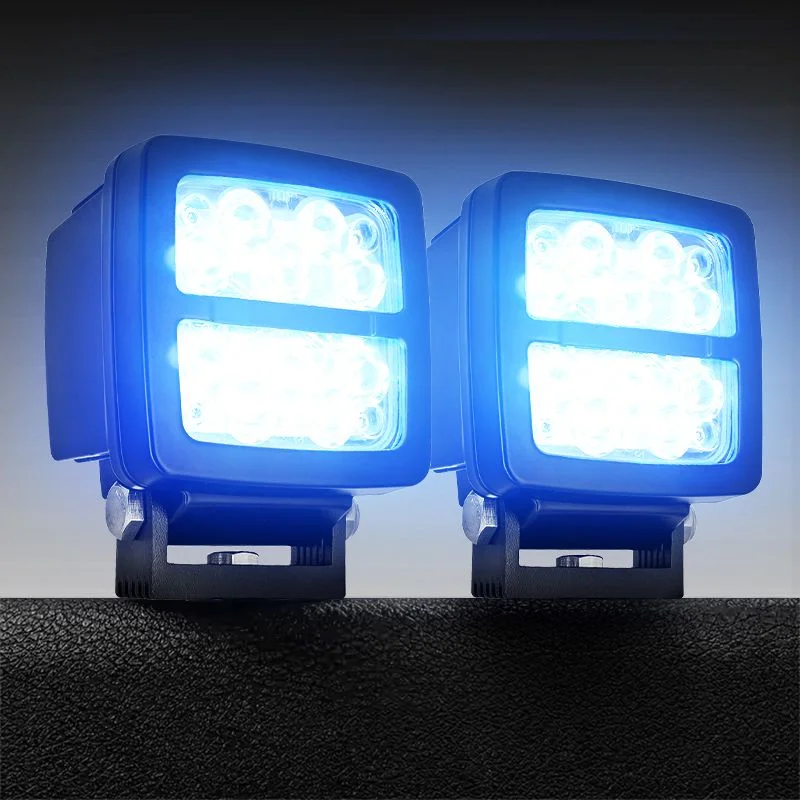
Installing a light bar for truck enhances visibility on off-road trails or dark highways. Follow these steps for a safe and effective setup:
1. Choose the Right Mounting Location
- Consider the truck’s roof, bumper, or grille area for optimal light coverage.
- Make sure the location doesn’t obstruct your view or interfere with other accessories like antennas.
- Ensure mounting surface is sturdy and can handle the weight of the light bar.
2. Mount the Light Bar Securely
- Attach brackets included with your light bar.
- Use screws or bolts and double-check they’re tightened.
- Make sure the light bar is level and positioned for maximum illumination.
3. Wire the Light Bar
- Connect the positive and negative wires to the truck battery using the wiring harness.
- Integrate a relay and fuse to prevent electrical overload.
- Route wires carefully through the engine bay, avoiding heat sources and moving parts.
4. Install the Switch
- Mount the switch inside the cabin within easy reach of the driver.
- Connect the relay to the switch to control the light bar conveniently.
- Test the switch to ensure it powers the light bar on and off smoothly.
5. Adjust and Test
- Turn on the light bar and check illumination.
- Adjust the angle for the most effective coverage without blinding oncoming traffic.
- Secure any loose wiring with zip ties to prevent vibration damage.
How to Install LED Headlights in a Truck
Upgrading your headlights to LED is a popular way to increase brightness and energy efficiency. Here’s how to do a safe how to install car leds project:
1. Remove the Old Headlights
- Open the hood and locate the headlight assembly.
- Remove screws or clips holding the assembly in place.
- Carefully disconnect the wiring harness without damaging it.
2. Prepare the New LED Headlights
- Compare your new LEDs to the old bulbs to ensure compatibility.
- Avoid touching the LED surface directly to prevent oils from reducing lifespan.
- Ensure the bulb type matches the housing and connector.
3. Install the LED Headlights
- Plug the LED into the existing wiring harness securely.
- Insert the assembly into the headlight cavity, making sure it fits snugly.
- Secure with screws or clips, ensuring no wobble or movement.
4. Adjust Beam Alignment
- Turn on the headlights and check beam direction.
- Use the adjustment screws to center the beam and prevent blinding other drivers.
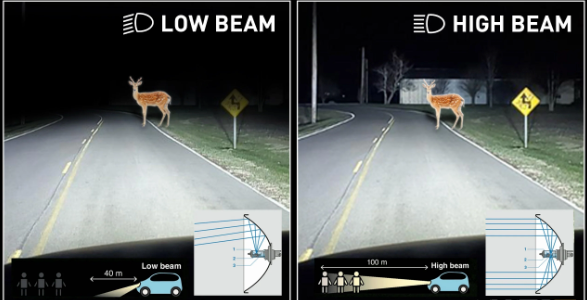
- Test both low and high beams to ensure proper function.
5. Final Checks
- Reconnect the battery and test all lights for stability.
- Inspect wiring for secure connections and insulation.
- Make adjustments if necessary for perfect alignment and coverage.
Tips for a Smooth LED Light Install
- Always disconnect the battery before touching electrical components.
- Run wires carefully to avoid contact with hot surfaces or moving parts.
- Use a relay and fuse with every LED light install to protect your truck’s electrical system.
- Regularly check mounts and wiring for loosening or wear.
- Follow local laws regarding aftermarket lights to ensure compliance.
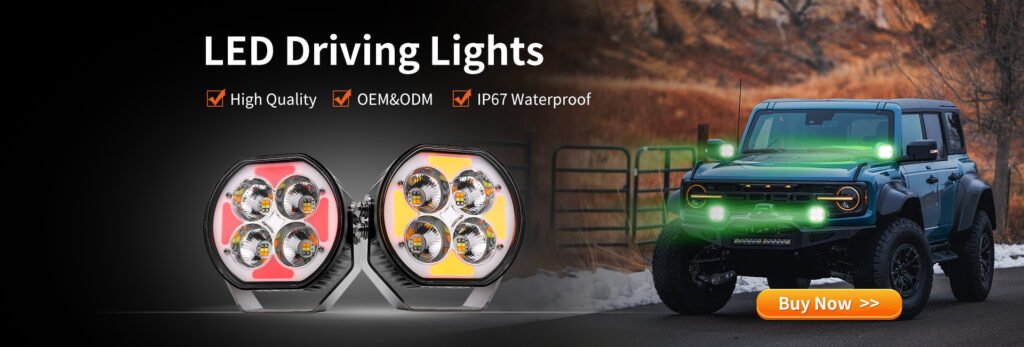
Upgrading your truck with LED lights—whether it’s a light bar for truck or high-performance headlights—is a rewarding project that improves safety, visibility, and overall style. With proper tools, careful wiring, and the steps in this guide, your led lights in truck will shine brighter and last longer. Get ready to hit the road confidently, knowing your truck is lit up safely and professionally!
Conclusion: XRLL Helps You
Upgrading your truck with LED lights in truck, whether it’s a light bar for truck or high-performance LED headlights, is a project that combines style, safety, and functionality. By carefully following the steps outlined in this guide—from mounting and wiring to beam alignment—you can complete a professional LED light install without unnecessary stress.
If you have any questions about installation, need technical support, or want advice on the best LED solutions for your truck, don’t hesitate to reach out:
Tel: 0086-15818025687
E-mail: service02@xrlledlight.com
Get ready to enjoy brighter, safer drives and make your truck stand out on the road!
Frequently Asked Questions (FAQ)
1. How do I hook up a light bar to a truck?
To hook up a light bar for truck, mount it securely using the included brackets, run the wiring through a relay and fuse to the battery, and connect a switch inside the cabin. Always route wires safely away from heat and moving parts.
2. Can I install LED lights in truck myself?
Yes! With proper tools, wiring harnesses, and safety precautions, DIY installation is possible. Following a step-by-step guide ensures your LED light install is safe and effective.
3. What is the easiest way to install car LEDs?
Use a plug-and-play LED kit compatible with your vehicle. Disconnect the battery, remove old bulbs, connect the LED bulbs to the harness, secure the assembly, and test functionality.