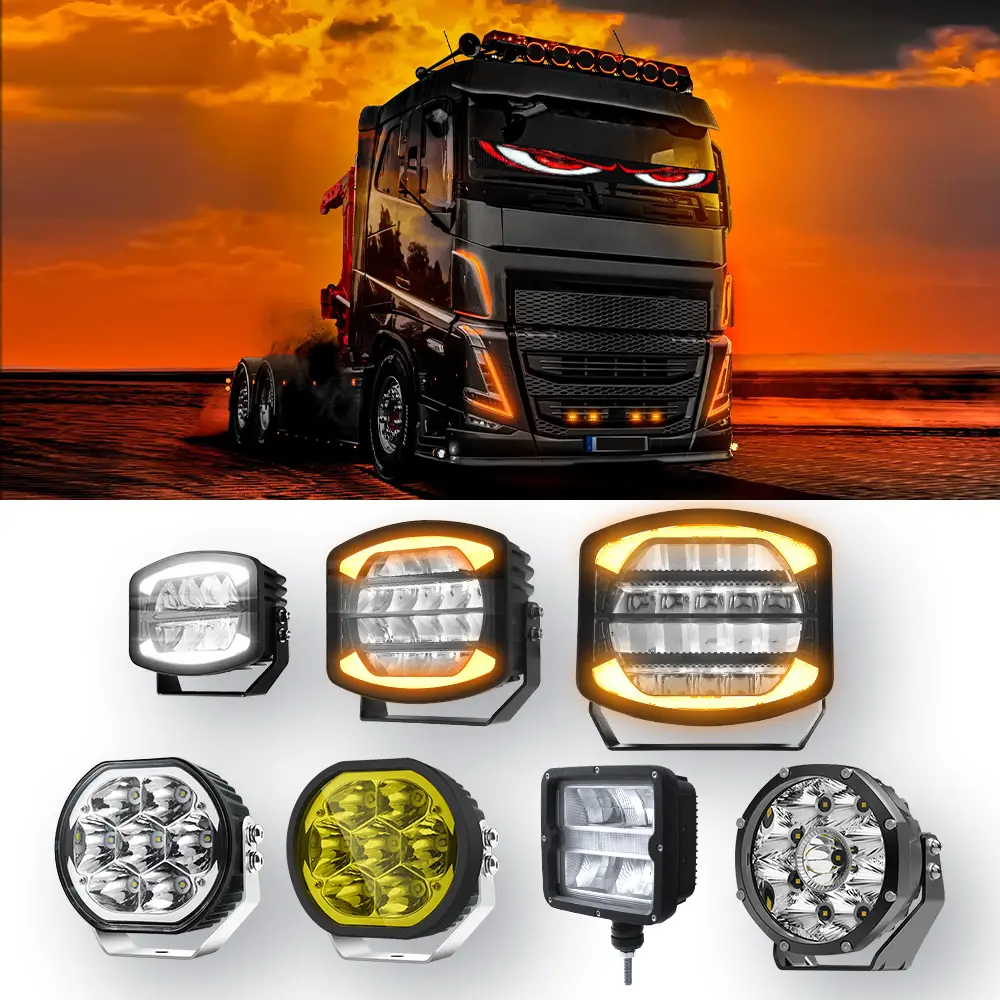
Upgrading your car with LED eyes—commonly referred to as demon eyes or devil eyes lights—has become a hot trend among automotive enthusiasts. Whether you want to create a bold custom look or improve your visibility at night, this guide will help you understand everything from the benefits of demon eyes to how to install them safely and professionally at home.
If you’ve ever asked, “Can I install LED headlights or demon eyes myself?”, the short answer is yes—and this article will show you exactly how.
What Are Demon Eyes and Why Are They Popular?
Understanding the Aesthetic Appeal
- What they are
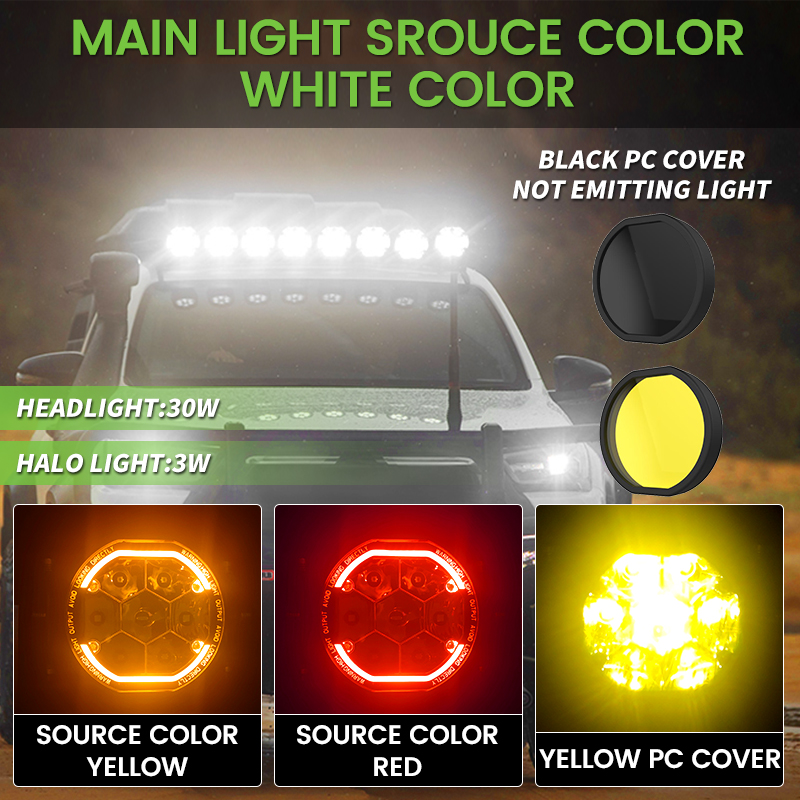
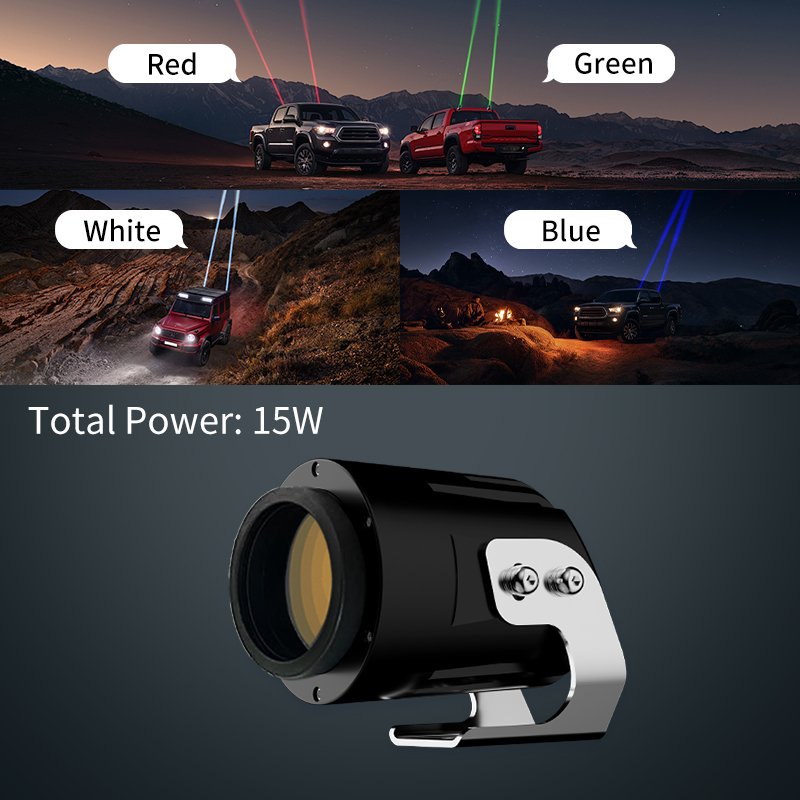
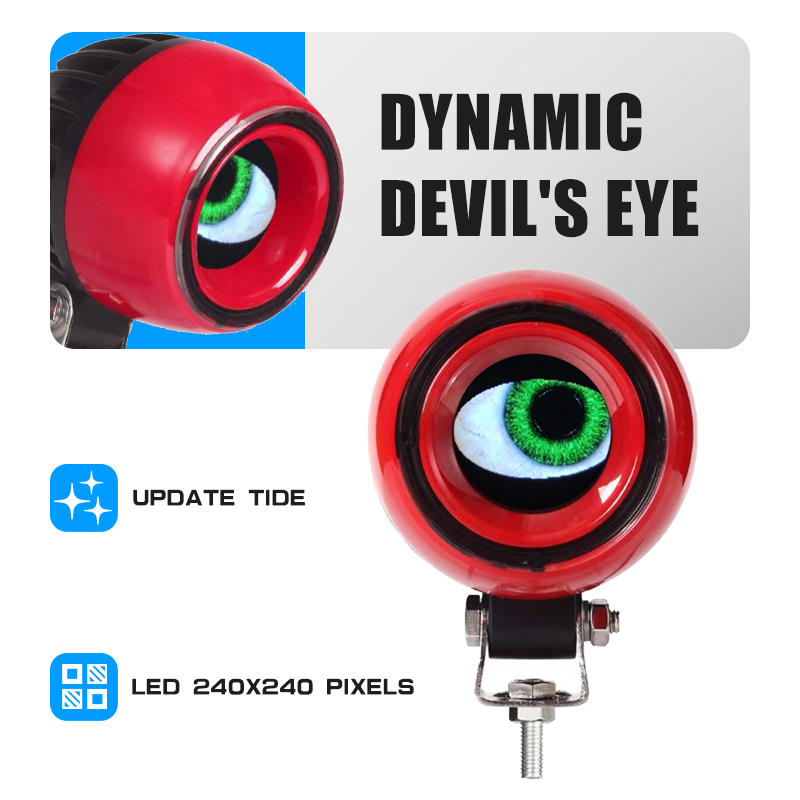
Demon eyes are small LED lighting modules that mount behind projector lenses, casting a vibrant colored glow—usually red, blue, or purple.
- Aggressive styling
When turned on, they create a striking, menacing appearance that gives your car a unique presence.
- Used with projectors
These lights are especially dramatic on vehicles equipped with projector headlight systems, where the lens acts as a diffuser.
Functional Enhancements
- While primarily cosmetic, LED eyes can also help other drivers notice your vehicle more easily.
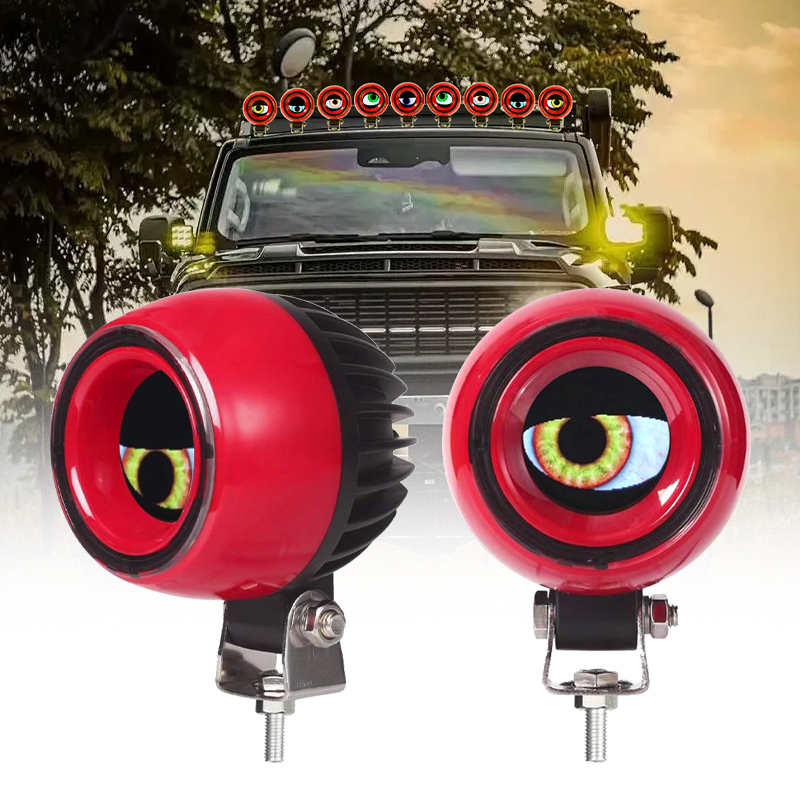
- They can be paired with LED auxiliary lights for additional nighttime road presence.
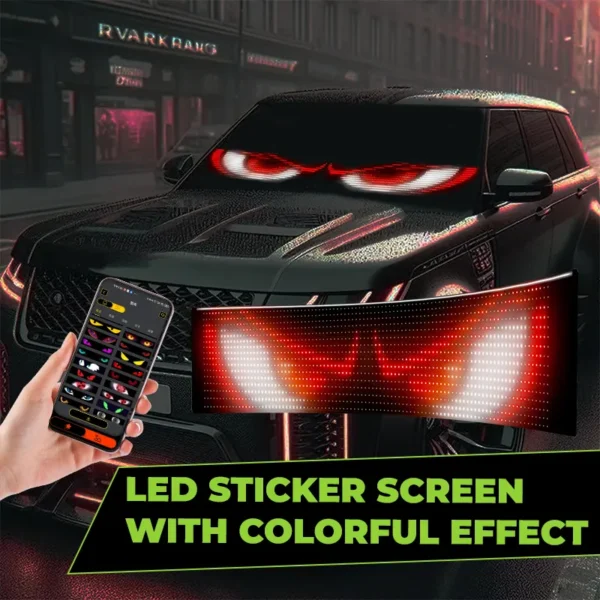
- Some advanced systems allow RGB color control through mobile apps or remote controllers.
Rising Trend in Vehicle Customization
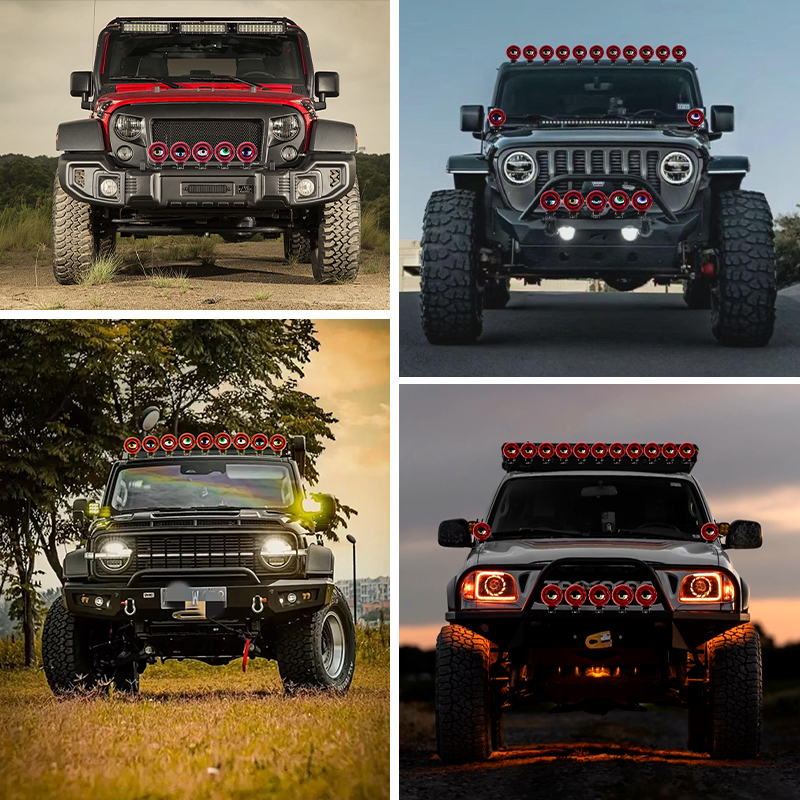
- Demon eyes car builds are popular in the car show community and among modding enthusiasts.
- Many Jeep owners install demon eye headlights to match their off-road lighting setups.
- With RGB control and multi-mode features, demon eyes offer dynamic lighting personalization.
Can I Install LED Headlights or Demon Eyes Myself?
Yes—DIY installation is possible for most people with basic automotive knowledge.
Skill Level Required
- You don’t need to be a mechanic, but comfort with wiring and disassembly is essential.
- If you’ve ever installed a stereo, fog light, or dashcam, you’re likely qualified to take on this project.
Time Commitment
- Installation typically takes 2–4 hours for beginners.
- The most time-consuming part is opening and resealing the headlight housing.
Cost Savings
- Doing it yourself can save $100–$300 compared to professional installation.
- Many demon eye kits are affordable and include everything needed for installation.
Tools and Materials You’ll Need
Essential Installation Tools
- Screwdrivers and trim tools: For removing bumper clips and housing bolts.
- Heat gun or oven: Used to open the sealed headlight housing without damage.
- Soldering kit or wire connectors: Ensures stable and secure electrical connections.
- Electrical tape and zip ties: For protecting and tidying up your wiring work.
Lighting Components
- Demon eyes / LED eyes kit: Includes LED modules, wiring harness, and sometimes a Bluetooth controller.
- Relay harness (optional): Useful if you’re powering the lights from the battery for stability.
Optional Add-ons
- LED auxiliary light: To enhance the front-end lighting effect, especially in off-road or nighttime settings.
- RGB controller: For customizing light colors and modes from your smartphone.
Preparation Before Installation
Disconnect the Battery
- Always begin by removing the negative battery terminal to prevent shorts or shocks.
- This step is essential before working on any electrical systems.
Protect Surrounding Surfaces
- Use fender covers or blankets to avoid scratching paint while working.
- Remove front bumper (if necessary) to access the headlight assemblies more easily.
Read the Manual
- Study your vehicle’s headlight assembly diagram if available.
- Check if your headlights use a permanent sealant (difficult to reopen) or a soft butyl seal (easier to work with).
Step-by-Step Installation Process
Step 1: Remove the Headlight Assembly
- Unbolt the headlight using appropriate tools (usually 8mm or 10mm sockets).
- Disconnect all wiring harnesses connected to the back of the headlight.
- Place the headlight on a clean towel-covered workspace.
Step 2: Open the Headlight Housing
- Use a heat gun or preheated oven (~200°F or 95°C for 10–15 minutes) to soften the sealant.
- Carefully pry apart the lens with a flathead screwdriver or pry tool.
- Be gentle—excessive force can crack the lens or damage tabs.
Step 3: Mount the Demon Eyes / LED Eyes
- Align the LED eyes behind the projector lens or reflector bowl as specified in your kit.
- Use adhesive backing, brackets, or screws included in your kit to secure them in place.
- Ensure the LED module is centered for uniform glow distribution.
Step 4: Route and Connect the Wiring
- Route wires cleanly through grommets or pre-drilled holes (seal afterward to prevent moisture).
- Tap into your parking light or DRL circuit for power, or wire directly to a switch.
- Use a relay for direct-to-battery setups, especially for demon eye headlights Jeep applications where off-road lighting is heavy-duty.
Step 5: Reseal and Reinstall
- Apply fresh butyl sealant or reuse the existing one if still pliable.
- Clamp or screw the housing shut and let it cool.
- Reinstall the headlight back onto the vehicle, reconnect harnesses, and bolt it securely.
Tips for a Clean and Durable Installation
Use Proper Heat Protection
Keep wiring away from engine parts or hot surfaces using loom tubing or heat shields.
Test Before Sealing
Always power up the lights and check positioning before sealing the housing shut.
Keep Wiring Tidy
Bundle wires using zip ties and route them alongside factory harnesses.
Label any aftermarket lines to avoid confusion during future maintenance.
Avoid Cutting Factory Wires
Whenever possible, use T-taps, add-a-circuit adapters, or plug-and-play connectors to preserve OEM wiring.
Customize Your Setup: Beyond Just Demon Eyes
Add LED Auxiliary Lights
- Combine your LED eyes with LED fog lights or light bars to enhance the overall front-end lighting.
- This is especially popular in off-road builds like a demon eyes Jeep setup.
Mobile-Controlled Lighting Effects
- Use an RGB controller with Bluetooth to change colors, sync to music, or cycle through effects.
- Some systems offer show modes for car meets or night cruises.
Conclusion
Installing demon eyes car lighting is a rewarding project that enhances both the look and visibility of your vehicle. With the right tools, a bit of patience, and attention to detail, you can transform your ride at home—without paying a professional.
Whether you’re building a custom Jeep with demon eye headlights, upgrading a daily driver, or prepping for a car show, this guide gives you everything you need to get started.